Chocolate Rice Krispie Balls
Description
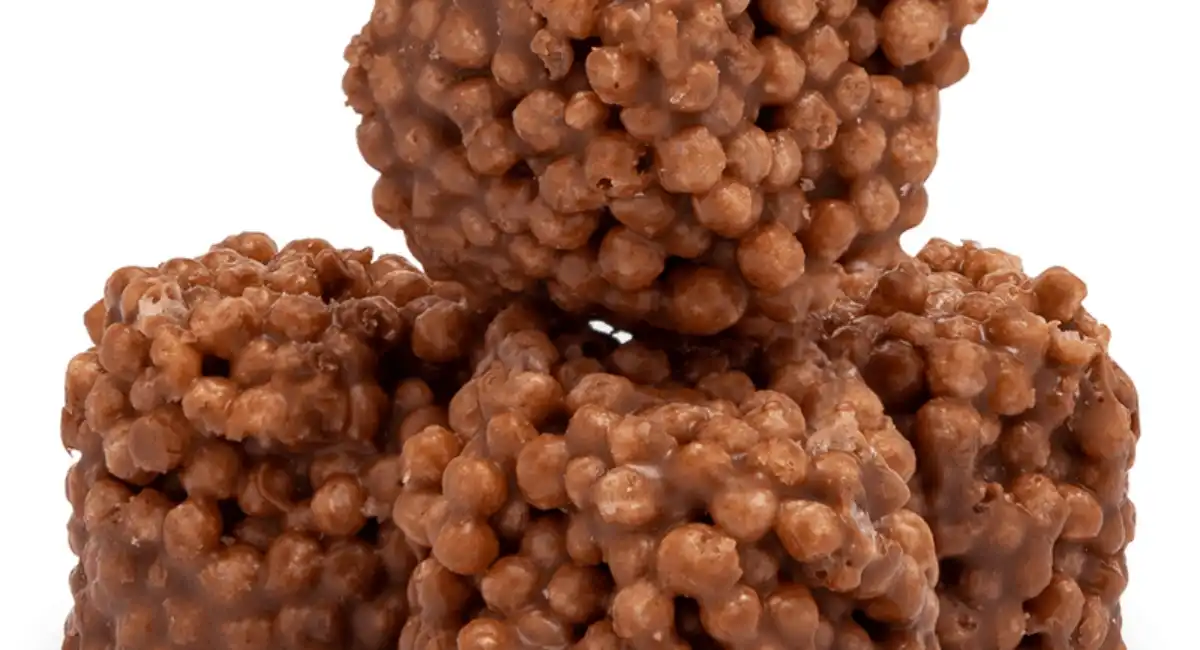
Step into the world of effortless, crowd-pleasing treats with these Chocolate Rice Krispie Balls! This recipe is a modern twist on a classic favorite that’s perfect for any party or casual get-together. Imagine biting into a chewy, crunchy ball that marries the nutty richness of peanut butter with the tropical hint of shredded coconut and the satisfying crunch of Rice Krispies, all coated in a luscious layer of melted chocolate. Originally a staple for kids’ parties and school bake sales, these treats have evolved into a gourmet snack that adults can also appreciate. Their versatility and delightful textures make them an ideal dessert for holiday gatherings, family picnics, or even a quick energy bite on a busy day. With a recipe that’s simple yet sophisticated, you can whip these up in no time and impress your guests with a dessert that’s as visually appealing as it is delicious.
Anúncios
Ingredients
- For the Rice Krispie Mixture
- ½ cup creamy peanut butter
- 3 tbsp unsalted butter, softened
- 1 tsp vanilla extract
- 1 cup Rice Krispies cereal
- ½ cup chopped pecans
- 1 cup shredded coconut
- For the Chocolate Coating
- 1 package of chocolate chips (semi-sweet or your preferred variety)
- 1 square of sweet chocolate (such as milk chocolate or a festive holiday chocolate)
Anúncios
Preparation Method
Begin by preparing your ingredients and ensuring everything is within reach. In a large mixing bowl, combine the creamy peanut butter, softened unsalted butter, and vanilla extract. Use a hand mixer or a sturdy spatula to blend these together until they form a smooth, harmonious mixture. Once the base is ready, gently fold in the Rice Krispies cereal, chopped pecans, and shredded coconut. This step is crucial as it distributes all the flavors evenly while maintaining the delightful crunch of the Rice Krispies and the nutty texture of the pecans.
After the mixture is well combined, cover the bowl with plastic wrap and place it in the refrigerator for about 30 minutes. Chilling the mixture will make it easier to shape into balls and help the flavors meld together. Once chilled, take the mixture out and use your hands to form it into small, bite-sized balls—each approximately one inch in diameter. For a festive touch, if you’re feeling creative, roll the formed balls in a bowl of colorful sprinkles to add extra holiday flair and visual appeal. After shaping, return the balls to the refrigerator and let them chill for at least one hour. This extra cooling step ensures that the balls are firm enough to handle the next stage without falling apart.
While your Rice Krispie balls are chilling, prepare the chocolate coating. In a microwave-safe bowl or using a double boiler, melt the chocolate chips together with the square of sweet chocolate over low heat. Stir continuously to create a smooth, glossy mixture that is free of lumps. Take care to melt the chocolate gently, as overheating can cause it to seize and lose its smooth consistency.
Once your chocolate is perfectly melted and silky, take the chilled balls out of the refrigerator one at a time and dip them into the chocolate. Use a fork or a toothpick to help lift each ball out of the bowl, allowing any excess chocolate to drip off before placing it on a parchment-lined tray. Continue this process until all the balls are evenly coated. Finally, return the tray to the refrigerator and allow the chocolate to set completely. If you plan to store them for a longer period, you may also freeze the balls to keep them fresh.
Anúncios
Tips and Conclusion
For an extra burst of flavor, consider drizzling a bit of caramel sauce over the chocolate coating before the chocolate sets. You can also experiment by substituting chopped pecans with walnuts or almonds, or even adding a pinch of cinnamon to the Rice Krispie mixture for a subtle spice. These variations can make your treats even more unique and customizable to your taste.
These Chocolate Rice Krispie Balls are a testament to how simple ingredients can come together to create an extraordinary treat. They embody a delightful mix of textures and flavors that are sure to be a hit at any gathering. Whether you serve them as an after-dinner dessert, a party snack, or a thoughtful homemade gift, these treats bring joy and a touch of nostalgia with every bite. We invite you to explore more of our creative dessert recipes on our site—share your own twists, comment on your favorite variations, and continue your culinary adventure with us. Happy baking and enjoy every delicious moment!
Anúncios

